Connect a Camera
The Connect tab is the first tab and the first stop after launch. Connecting selects a camera — frames only start streaming when you press Start Live View (main tab-bar corner).
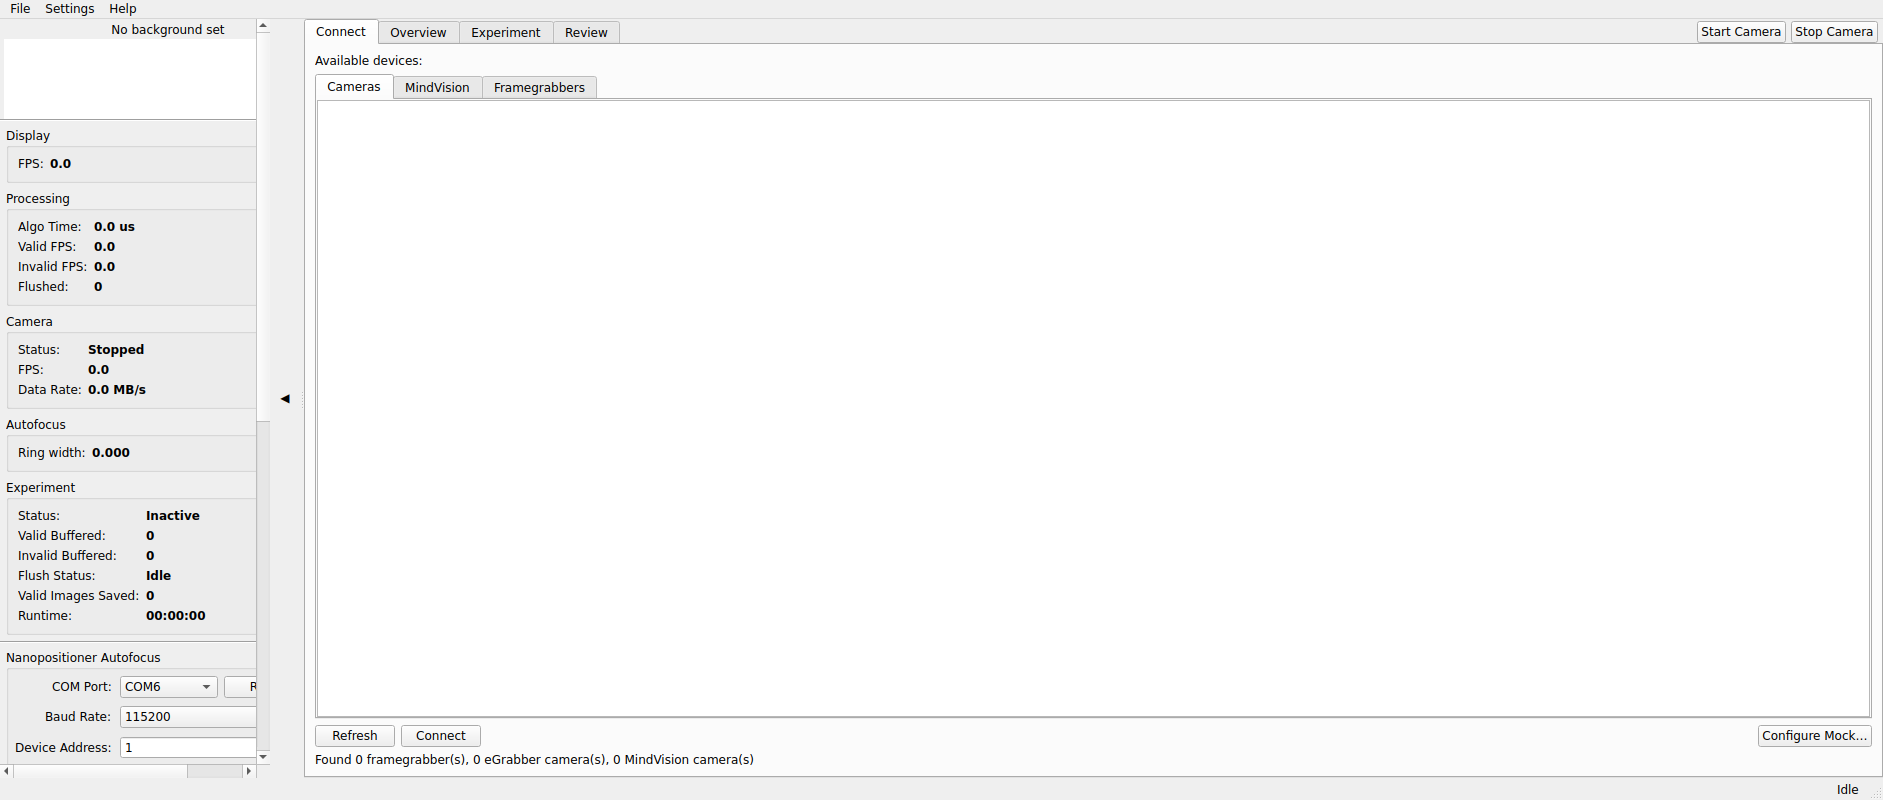
Automatic connection on startup
A few hundred milliseconds after launch the app enumerates cameras in the background:
- Exactly one camera found — it is selected automatically and the app switches to the Overview tab.
- Multiple cameras — the device list is populated; pick one and click Connect.
- No cameras — a "No camera found" dialog appears; check cabling and the frame-grabber, then click Refresh.
After the camera step completes, the app also probes serial ports for the nanopositioner (status appears in the sidebar).
Connecting manually
- Click Refresh to re-enumerate devices.
- Pick a device from the Cameras, MindVision, or Framegrabbers groups. The list shows model name, firmware, and interface labels.
- Click Connect. The status line confirms the selection and the app switches to Overview with the ROI overlay enabled.
Mock camera (no hardware)
The mock camera streams images from a folder on disk through the exact same pipeline as a hardware camera — useful for training, demos, and reproducing issues away from the instrument.
- On the Connect tab, click Configure Mock….
- Pick a folder of frame images (PNG/TIFF/JPEG/BMP; streamed in filename
order — use numeric prefixes like
frame_0001.pngfor deterministic playback), the target frame rate, and whether to loop. - Click Start Live View as usual.
Everything downstream — live view, processing, recording, review — behaves exactly as with a real camera.