MIB Studio Qt
MIB Studio Qt is a desktop application for real-time microscopy image capture: it drives the camera, processes frames live, charts cell metrics as they stream in, and records experiments to HDF5 files you can browse, export, and reanalyse later.
This site is the operator guide. Skim the tour below to see the shape of the app, then follow the workflow pages in order — or use the search box whenever you are in doubt about a button, a setting, or an error.
Contents
The workflow at a glance
1. Connect a camera
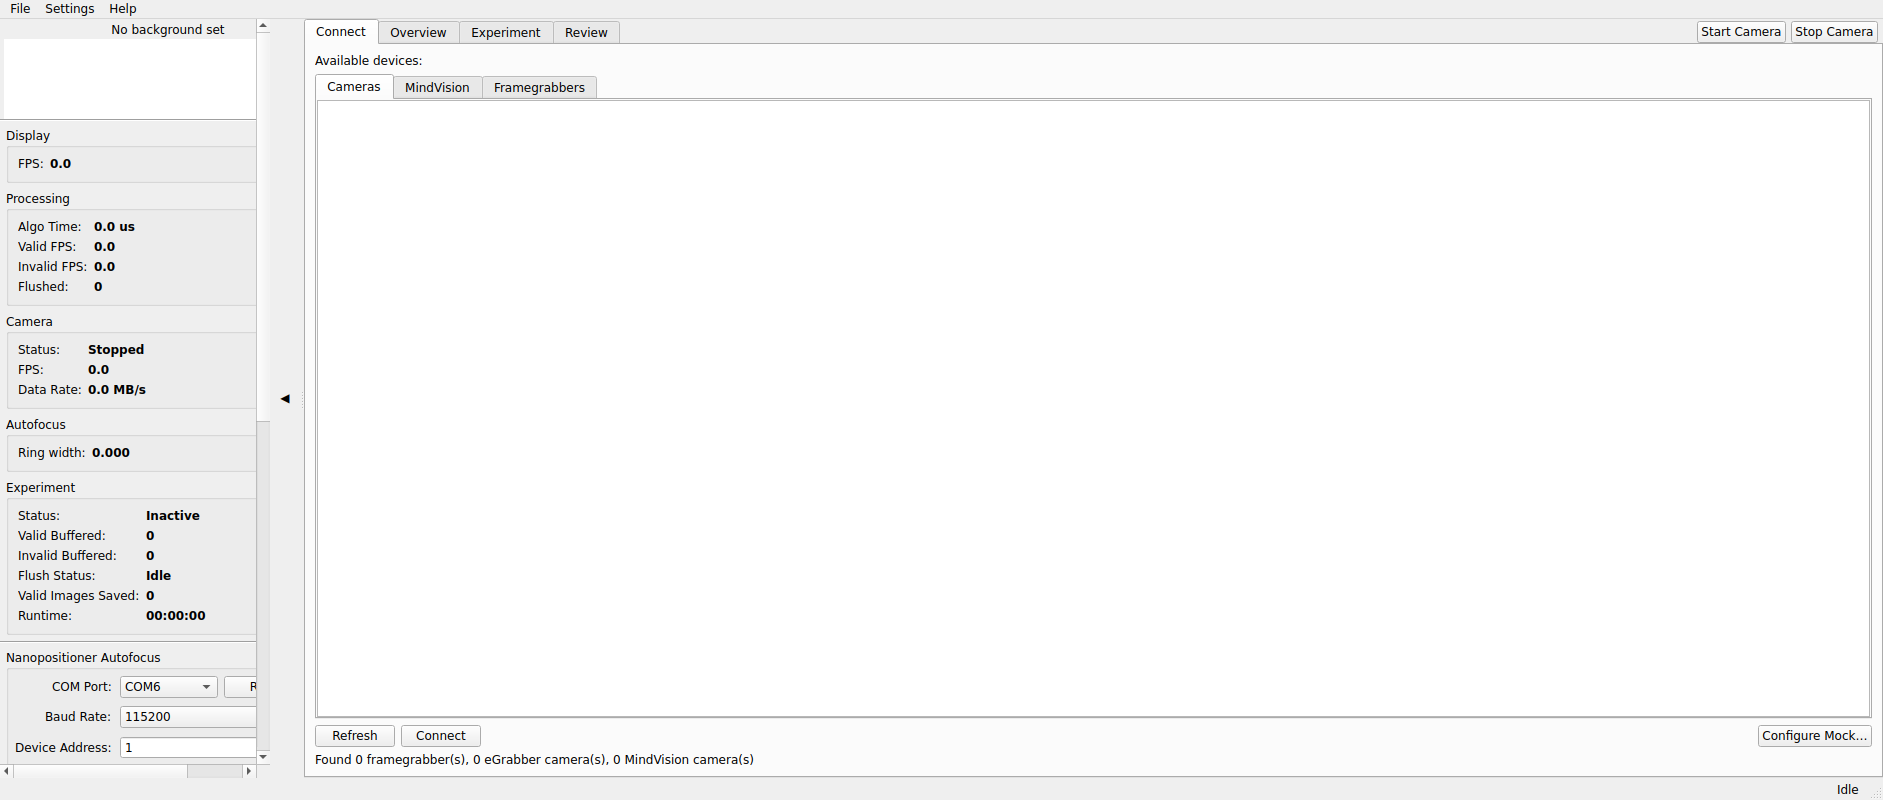
Every session starts on the Connect tab: pick a hardware camera, a MindVision camera, or the folder-backed mock camera when no hardware is attached. → Connect a camera
2. Frame the live view
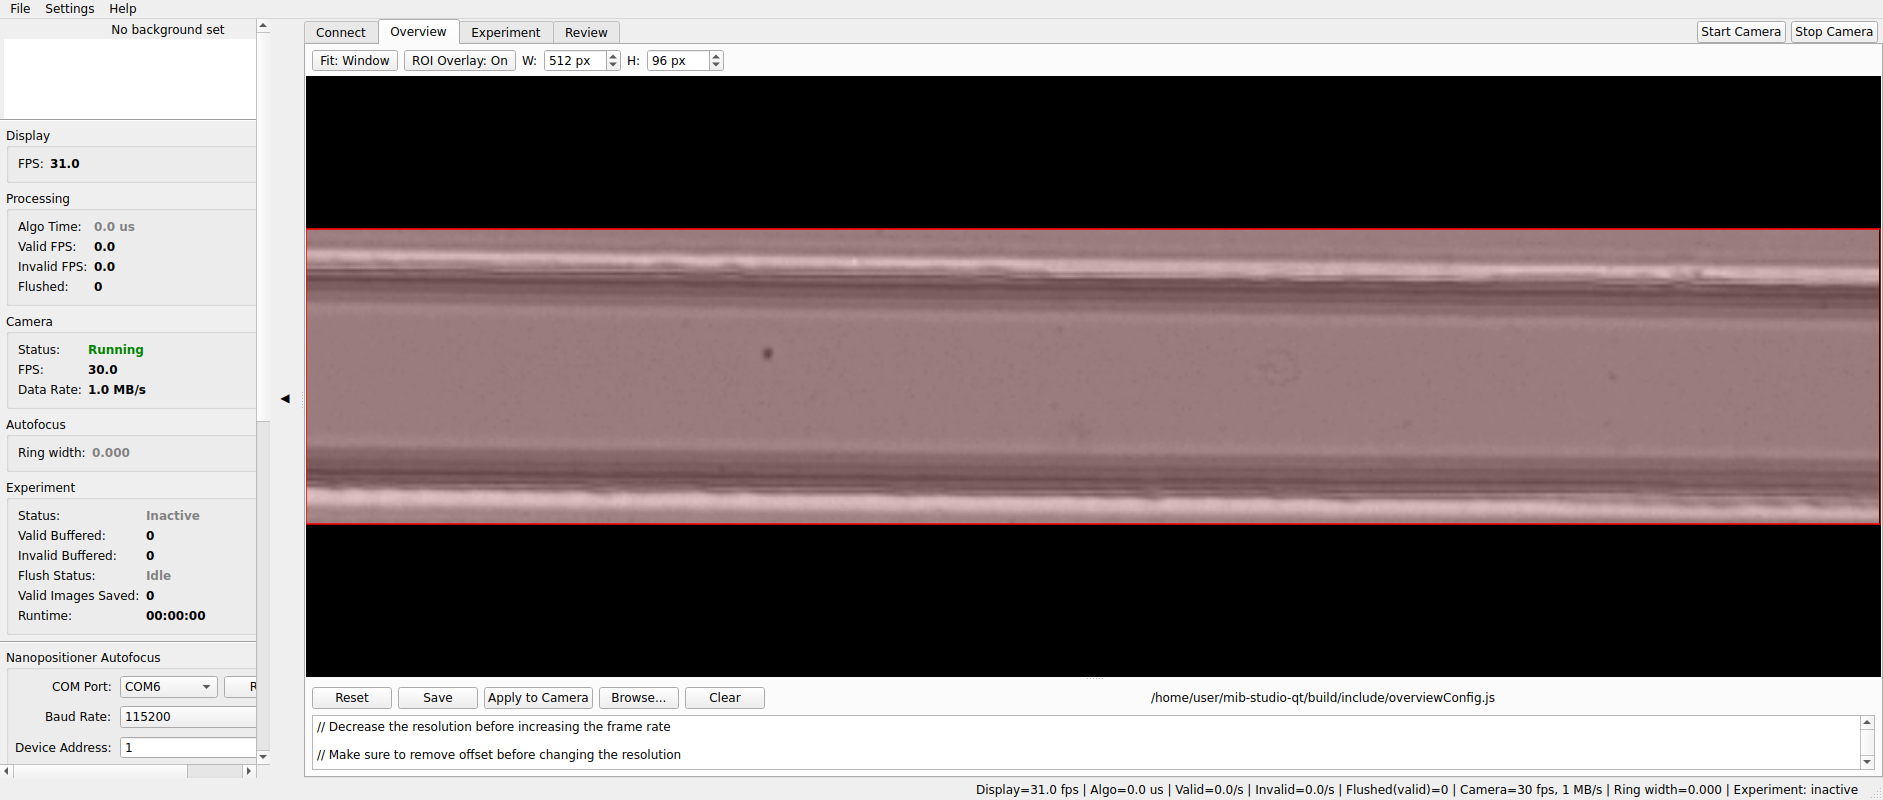
The Overview tab shows the raw live view. Draw the region of interest here — everything downstream (processing, monitoring, recording) works on that ROI. → Acquire & record
3. Tune the processing preview
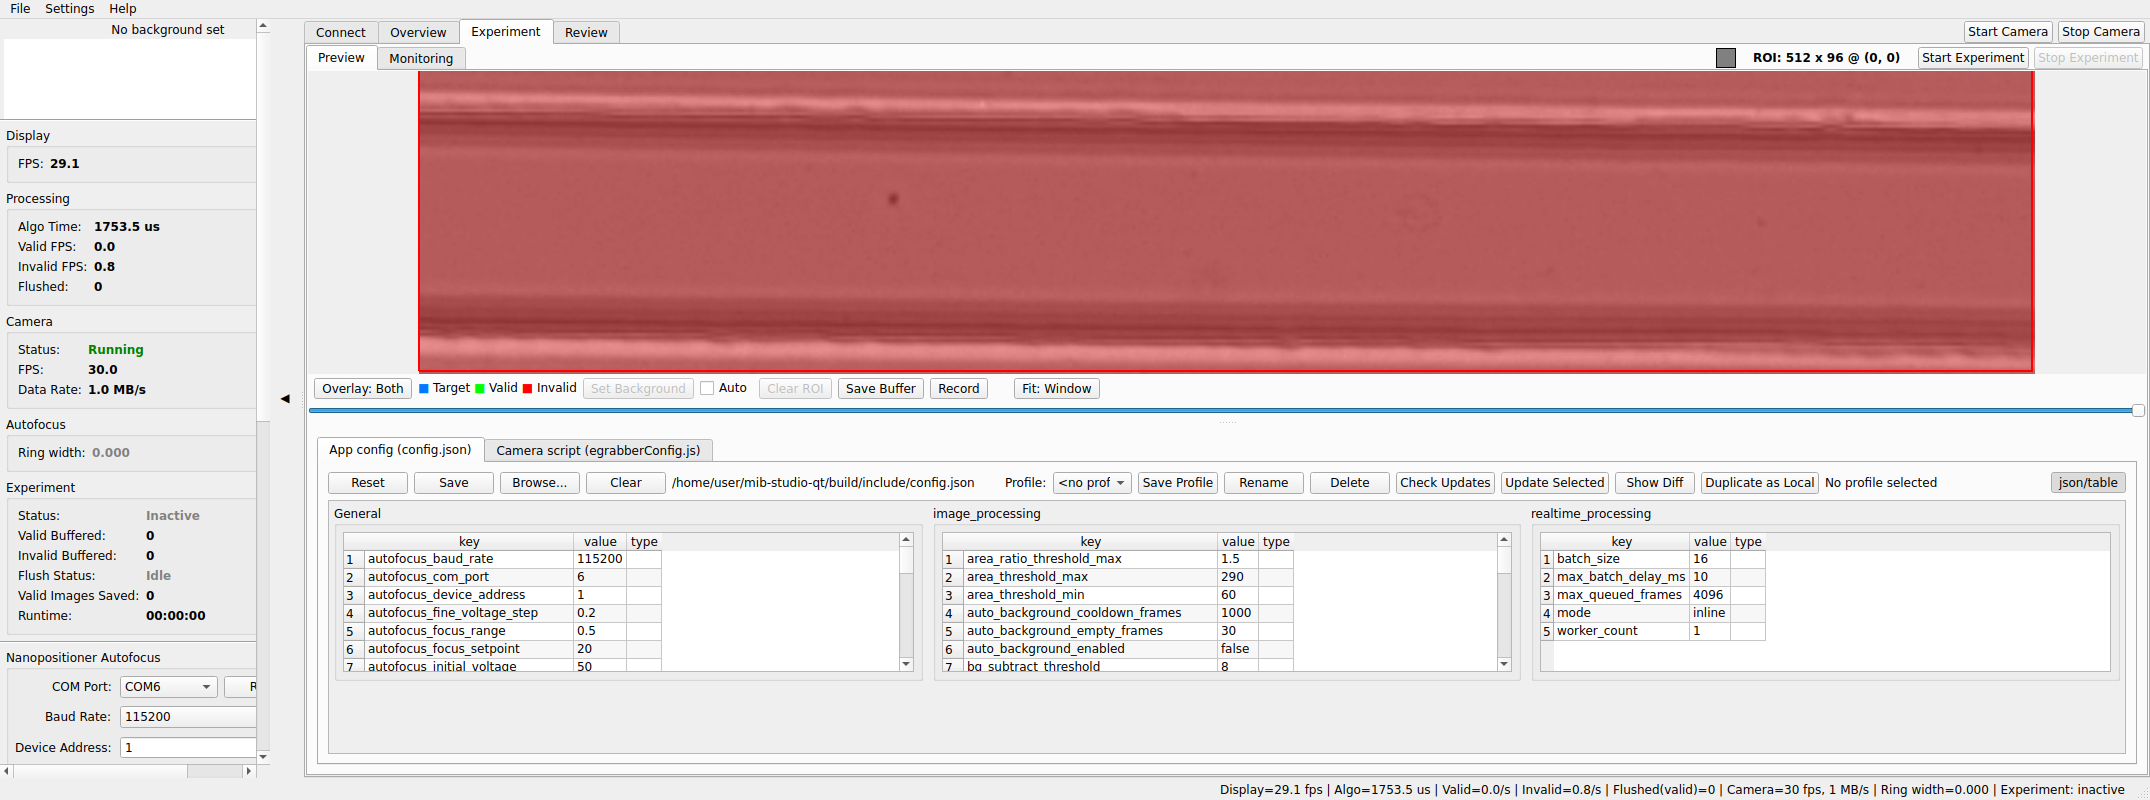
Experiment ▸ Preview replays recent frames through the processing pipeline so you can tune parameters and check masks before committing to a recording. → Acquire & record
4. Record and monitor the experiment
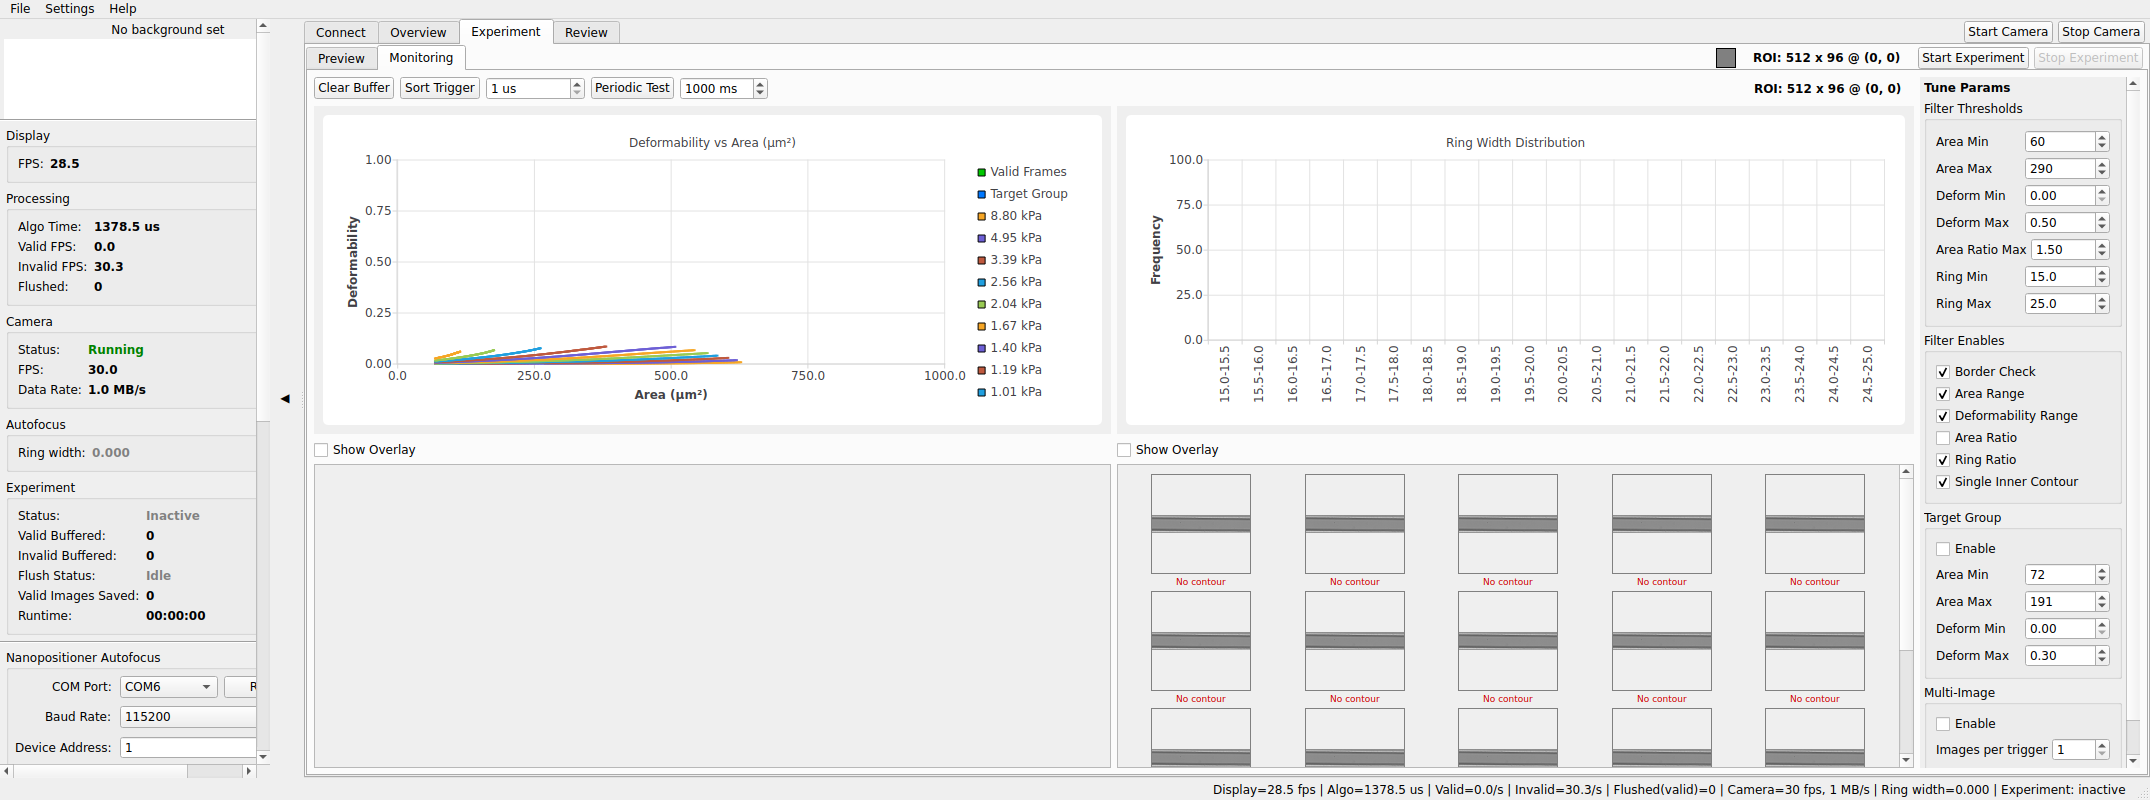
Experiment ▸ Monitoring charts cell metrics in real time while Start/Stop Experiment records the run to an HDF5 file. → Acquire & record
5. Review the results
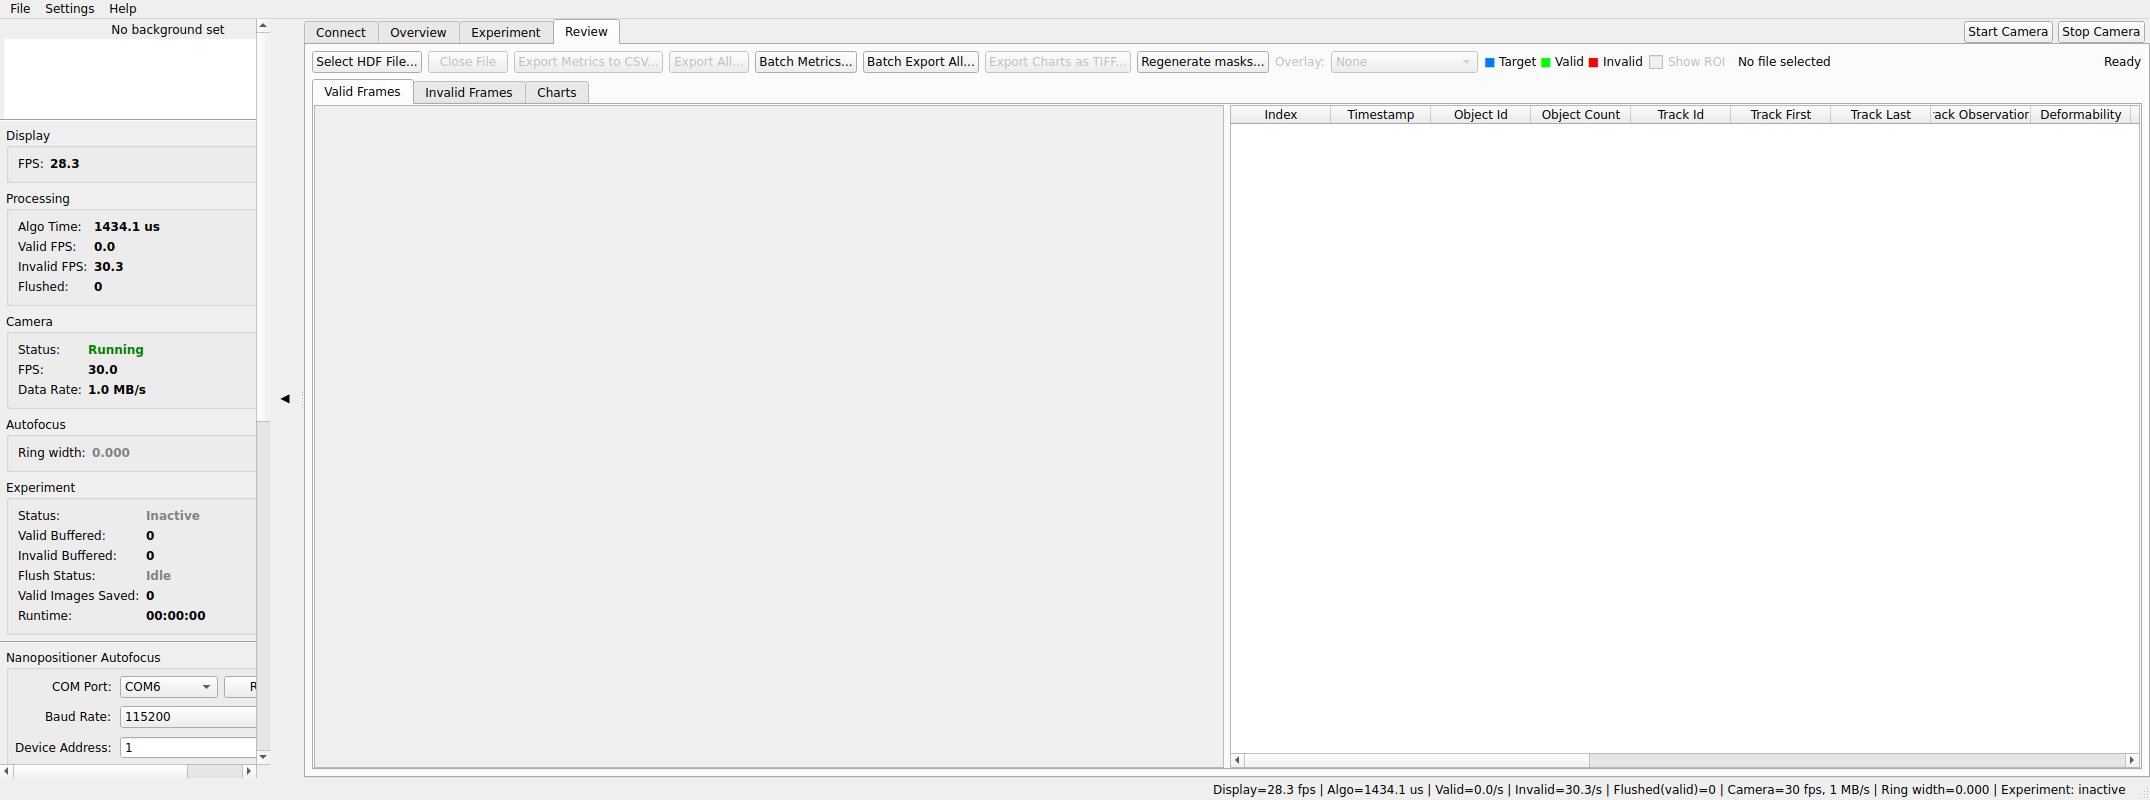
The Review tab opens recorded HDF5 files: browse frames, export metrics and images, or send a file back through the pipeline with new parameters. → Review & post-process
When something goes wrong
Start at Troubleshooting — where the logs live, how crash reports work, and the usual fixes for cameras that will not start, recordings that will not finalize, and updates that will not install.
About the screenshots
Every screenshot on this site is generated, not hand-captured: the
screenshot_tour program launches the real application in mock-camera
mode and captures each documented view, and each release regenerates the
full set. The pictures therefore always match the released UI — if your
screen does not look like this guide for your version, that difference is
itself a debugging clue worth including in a bug report.